Giorgio’s Pizza!
Last Saturday night, I had the opportunity to have pizza from Giorgio’s Pizza. For this pizza, Giorgio’s provided the dough, sauce, cheese and toppings and then we actually made the pizza at our house. My family and I wanted to do something fun while we are in quarantine and did not just want to order a pizza so this was a great alternative for us. We have done takeout at many restaurants throughout these past 2 months but I have to say that this was by far the most fun experience I have had. While I love eating pizza at a restaurant, I am also a cook so I love to make my own pizza too. This pizza combined the dough and toppings from a great pizza restaurant with my cooking skills to make for an amazing dinner.
During the shelter in place, my grandparents have been making many pizzas at home as they have been trying to perfect the homemade pizza. My grandpa has sent me many pictures of their pizzas and while they have looked good, the dough has not looked very thin and there has been limited crust. As a result of this, I decided to send them a video from youtube on how to stretch the pizza dough and after watching the video, they realized they had been stretching the dough in a completely different way. Long story short, I decided to use the skills I learned from the video while I was stretching my pizza dough and it seemed to work pretty well.
Here is the link to the video I watched on how to stretch pizza dough: https://www.youtube.com/watch?v=9f9-xTcKzZo
Here Are The Steps I Took To Make My Semi Homemade Pizza:
- The first step I took to make this pizza was to let the dough sit out for a few hours before using it. We assumed that the dough had already been sitting out for a few hours after we picked it up from Giorgio’s but the video recommend that it sit out for 2-8 hours to get to room temperature so we thought that another couple hours would not hurt.
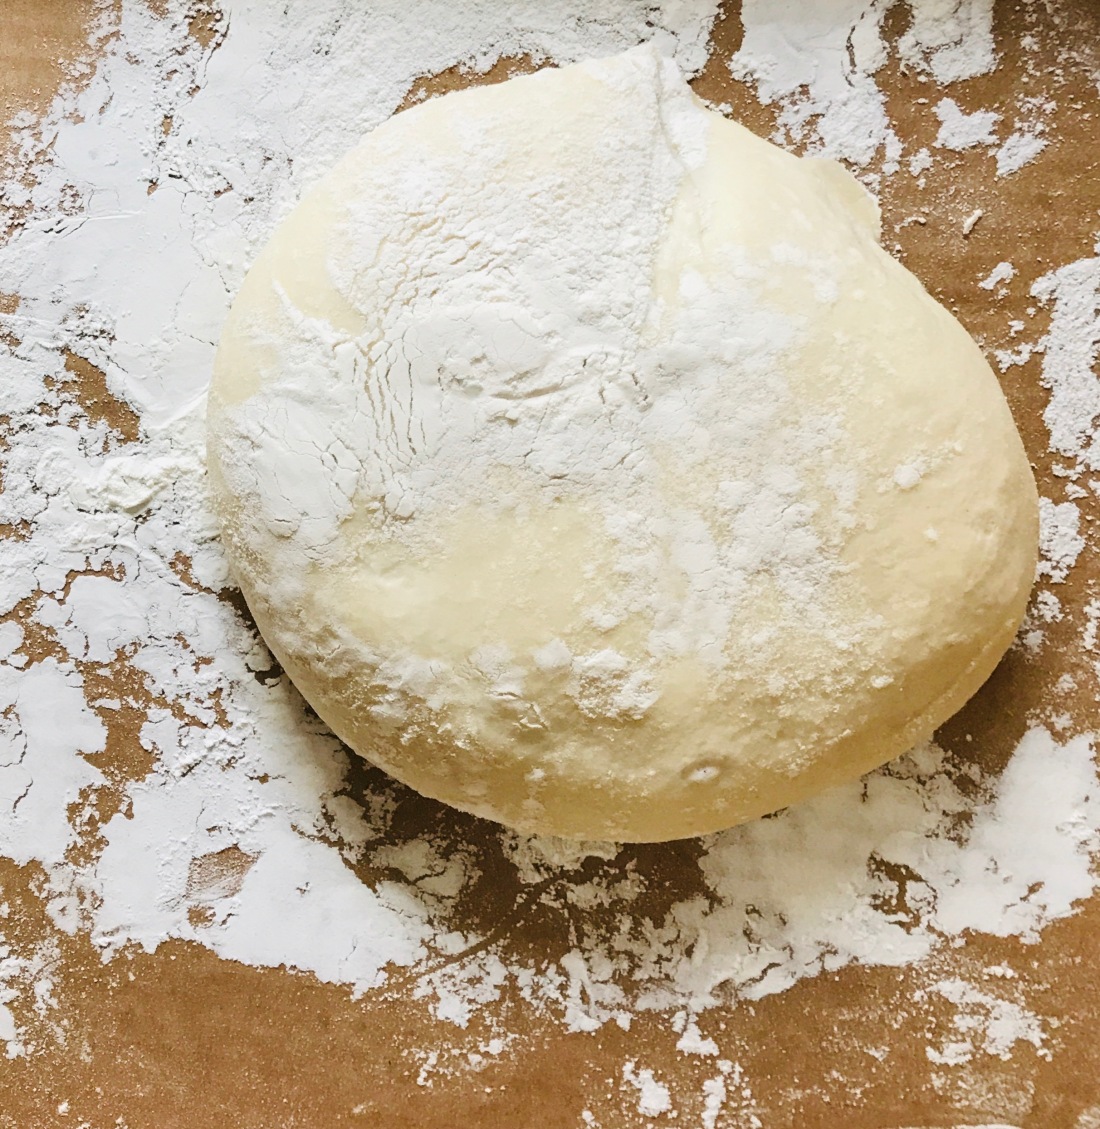
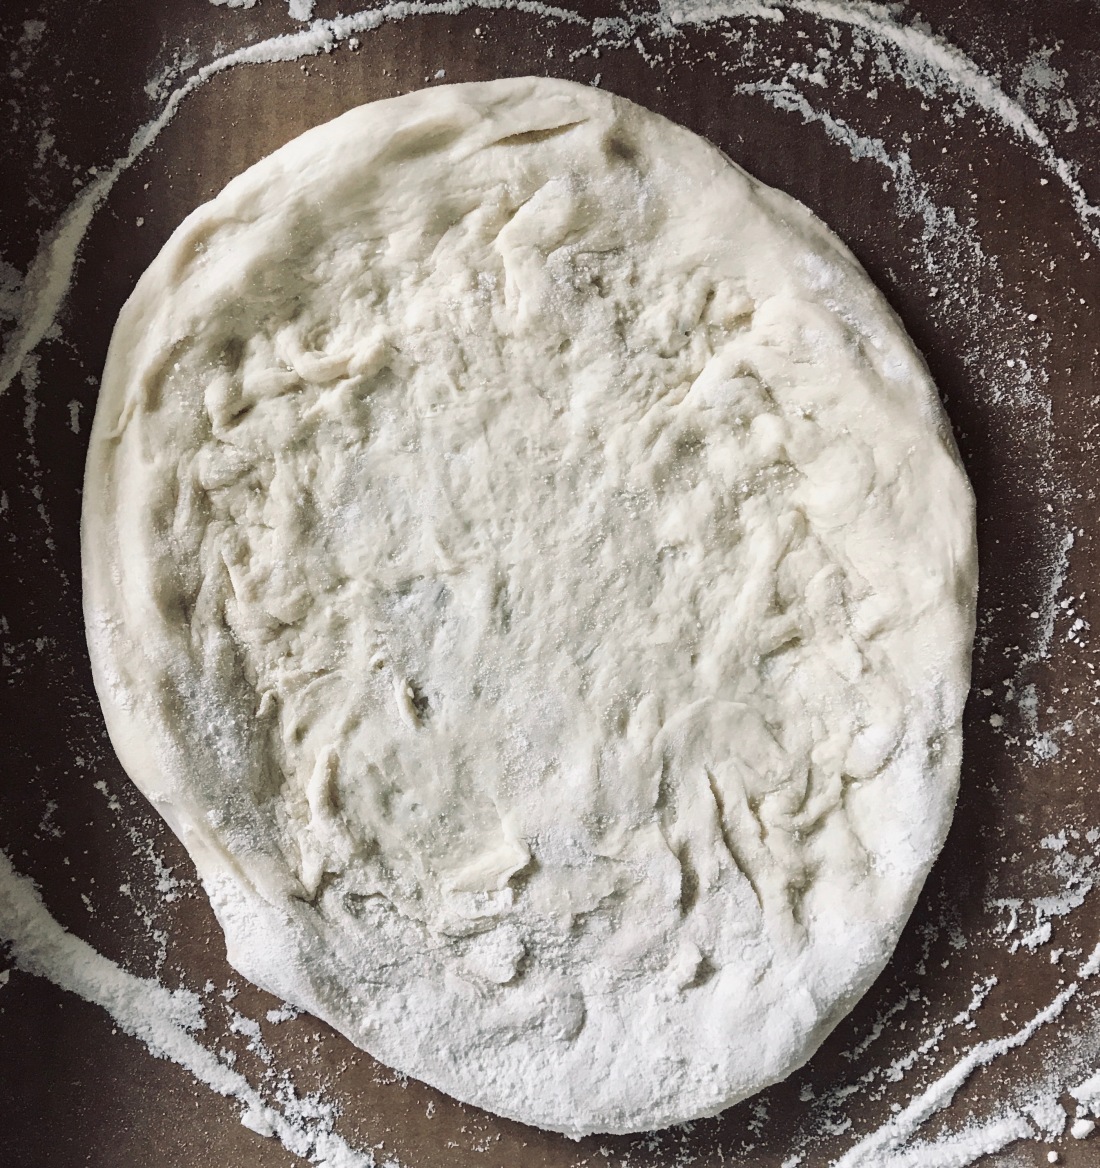
- Second, we preheated our oven to 425˚. Once the dough was at room temperature, we floured it a little bit (although Giorgio’s had already put a lot of flour on it so we did not need to put very much) and began to pound it out. To pound out the dough, we basically moved our fingers around the edges and rolled the dough around trying to push it outwards. We left a little space untouched on the edges of the dough for the crust and also tried to leave the middle untouched as the video recommended to do so. We proceeded to pound out the dough for a few minutes or until it was is in a shape we liked and it was nice and thin. I accidentally pounded my dough for too long so it caused a rip in the bottom but it turned out ok.
- After we finished pounding out the dough, it was time for the hard part: stretching. The guy in the video made this part look very easy but this was definitely the hardest part for me. Basically, you have to cup both of your hands and then dig them into the crust of the pizza. Once you have done this, use one hand to stretch the pizza dough out and one hand to rotate the dough around. Once you complete one rotation around, you are done. There are other methods to stretching the dough but I found that this method looked the easiest. But, if another method looks easier to you, then go for it.
- Optional Step- Tossing the pizza dough in the air. The tossing of the dough was shown in the video and is similar to what a lot of pizza chefs do in restaurants. We did not follow this step as we felt like our dough was already stretched and pounded enough. But, if you want to feel like a real pizza chef, then feel free to watch the video and practice your dough throwing skills.
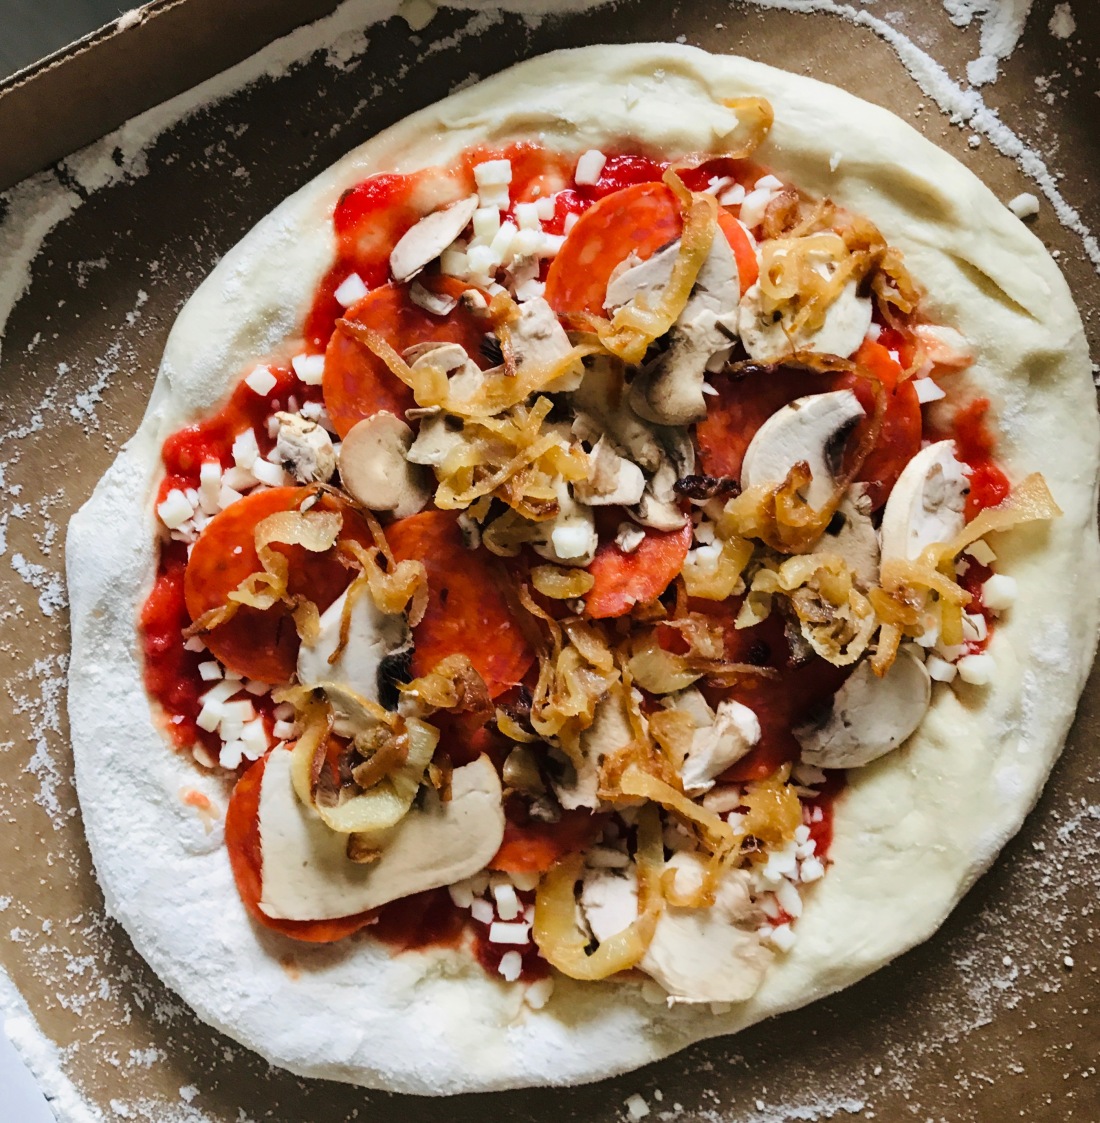
- After we finished stretching out our dough, it was time to add the sauce, cheese and toppings. When you are adding the toppings, make sure to not add any to the outer rim as that part is going to be the crust and will puff up. We started by adding the sauce and using the back of a spoon to spread it around. Usually with the pizza sauce, less is more and I highly recommend that you do not use a lot of sauce. Basically, you only need enough sauce to coat the base of the dough with a very thin layer. After adding the sauce, we added the cheese. The Giorgio’s Pizza kit came with mozzarella cheese and I highly recommend using this type of cheese as it is the classic pizza cheese. We sprinkled the cheese all around, trying to leave no areas bare. After adding the sauce and cheese, it was time for us to add the toppings that we wanted. The pizza kit that we got came with pepperoni and mushrooms and then we also added caramelized onions as well. You can use whatever toppings you like to make your pizza but I would encourage you to only use about 3 or 4 different toppings or else the pizza may get too overloaded. The trick with the toppings is to make sure that they are spread out all around and not overlapping each other.
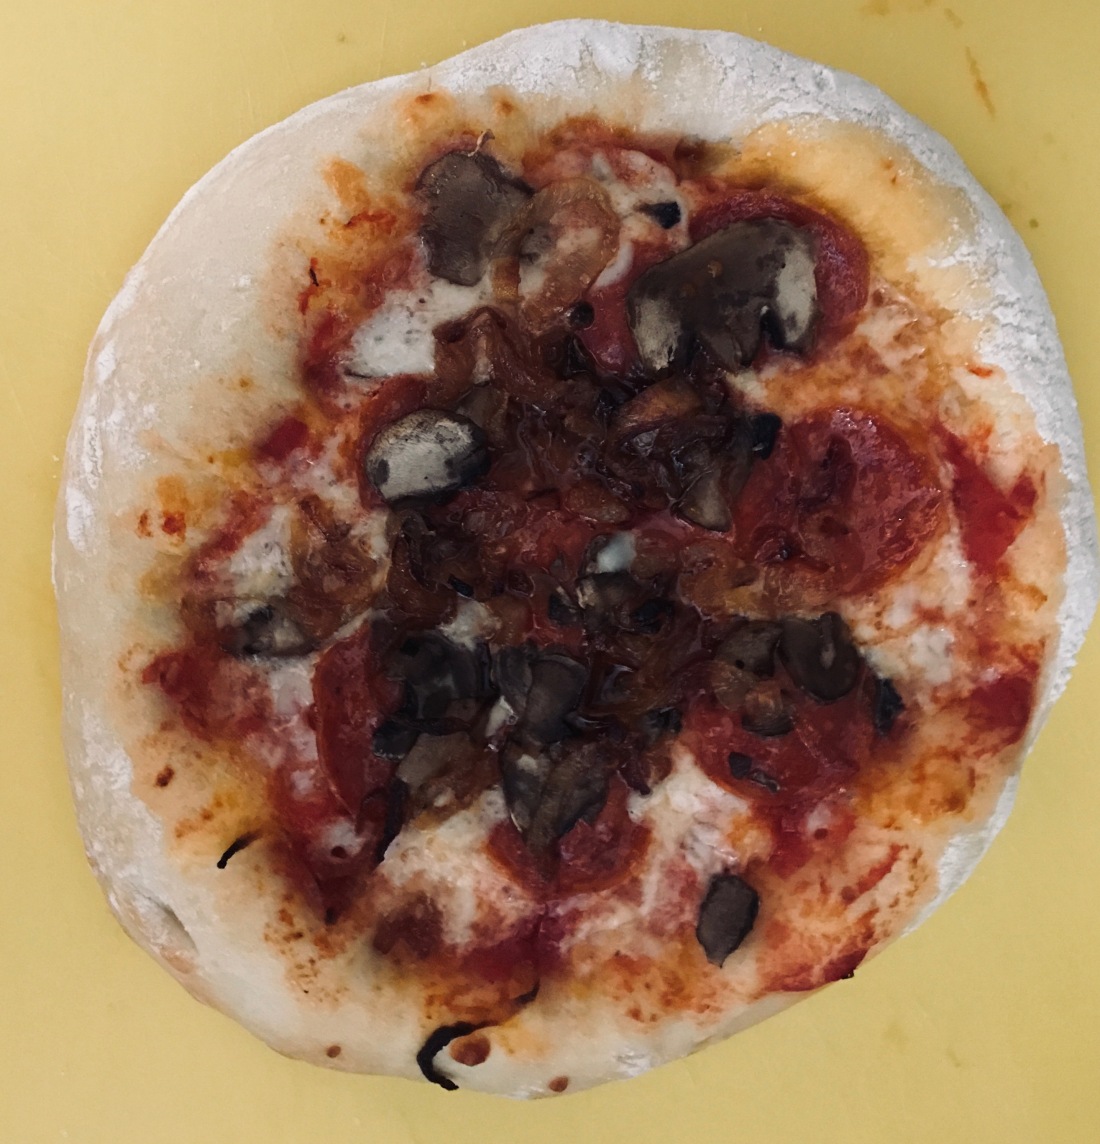
- Once we put all the toppings on our pizza, it was time to bake it. We stuck our pizza onto a pizza stone in our hot oven but you can also just stick the dough straight on to the rack in your oven. Also, I have made a pizza where I have used a pizza stone on my grill. My point here is that there are many options available for you when it comes to cooking your pizza. Once we put our pizza in the oven, we let it cook for about 10 minutes or until the cheese was melted and bubbling. We ate our pizza hot with freshly grated parmesan on top as well as crushed red chili flakes.
Overall:
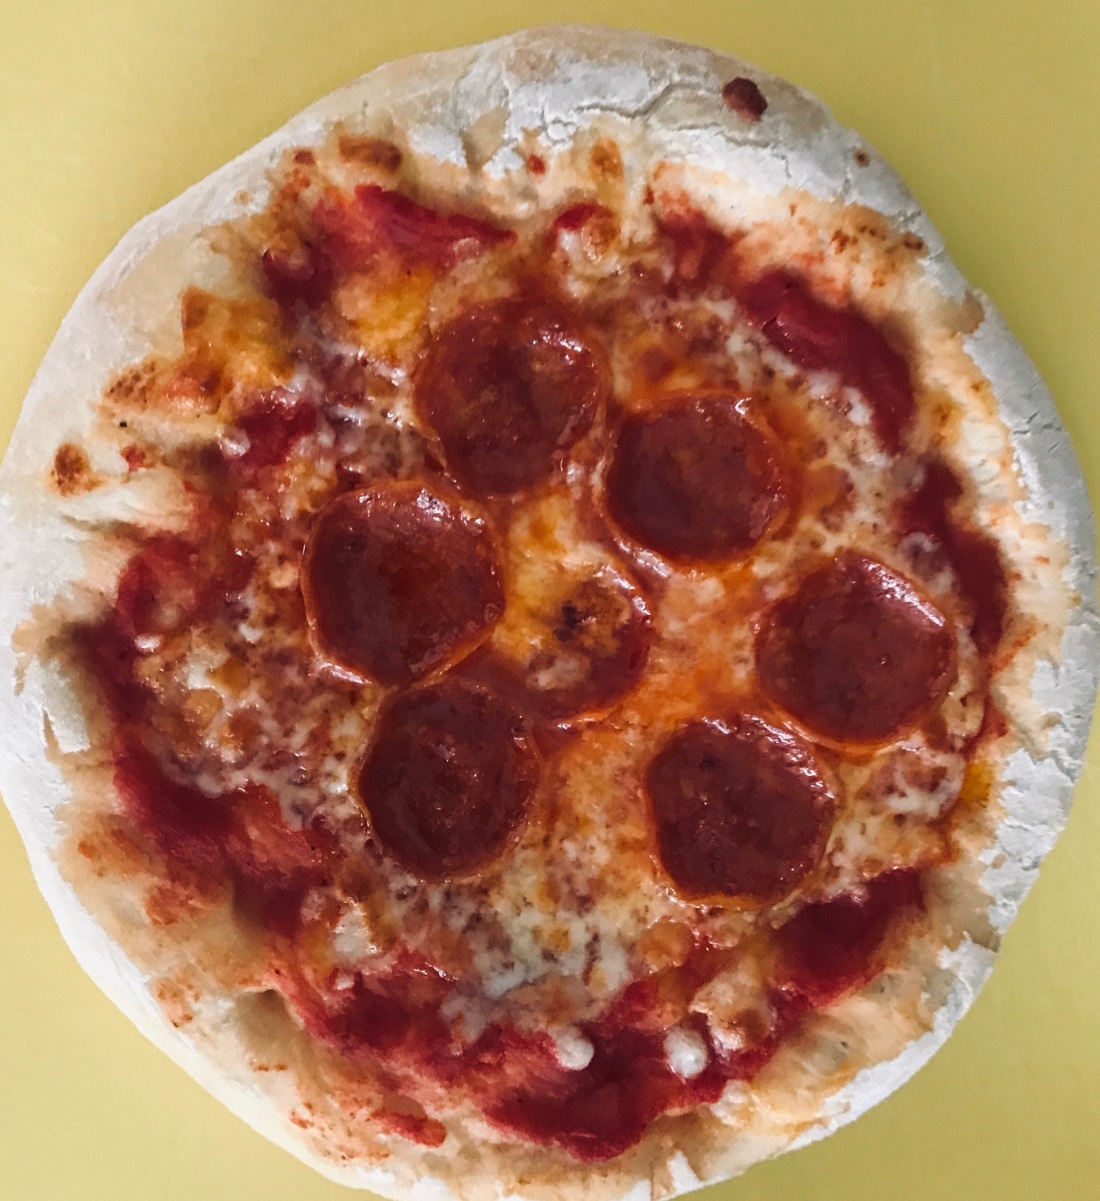
I really enjoy making pizza and this pizza kit from Giorgio’s was no exception. Before making this pizza, I had not watched any videos on how to stretch the dough correctly. As a result, a lot of the pizzas that I had made in the past had really thick crusts and the dough was not stretched enough. This video really helped me understand how to stretch the dough correctly using your hands and allowed this pizza to achieve a nice thin base as well as a nice crust. The next time I make a homemade pizza, I want to use a bigger piece of dough as this pizza felt kind of small. Also, the next time I make a pizza, I want to leave less space on the edges for the crust as on this one, the crust got a little too big and thick. But, overall, this pizza was a big upgrade from the ones I have had in the past and tasted amazing. I highly recommend using the video I linked above when you are next making pizza as it really taught me how to stretch the dough correctly. I hope you enjoyed this post and I hope that you can make fresh pizza in the near future!