It is now summer and one of the perfect times to get grilling! I love grilling as it allows you to cook outside during a nice summer day and it also produces some amazing meats. In this blog post, I plan to share with you three different meals that I have cooked on the grill in the past few weeks and how they have turned out.
Dish One: Grilled Chicken
This grilled chicken dish is the simplest of the three dishes I am going to show you today and requires minimal prep. A lot of times when you cook chicken in a pan, it becomes burnt or dry without fully cooking in the middle. With this grilled chicken dish, you will get the grill marks and sear from the grill while also getting a juicy piece of chicken. Here are the ingredients I used for this dish and the steps I took to cook it.
Ingredients:
- 3 Boneless, skinless chicken breasts- Use more or less chicken depending on how many people you want to serve
- roughly 2-3 cups of Italian dressing
- 1 gallon size Ziploc bag
Directions:
- Pull out your chicken breasts from the fridge and put them into the gallon size Ziploc bag. Pour the Italian dressing into the bag, adding enough to cover the chicken completely. Although my recipe above says roughly 2-3 cups of Italian dressing, I just estimated and added enough dressing to cover the chicken in the bag.
- Let the chicken marinate for roughly two hours or more. The more time that you let it marinate the better but two hours is just fine if thats all the time you have.
- Once the chicken has been marinated to your liking, preheat your grill onto its max heat. My grill got to roughly 650 degrees before I put the chicken on.
- Once the grill is hot, take the chicken out of the bag using tongs and place it onto the hot grill. Set a timer for three minutes and close the grill. Discard the Ziploc bag with the marinade in it in the trash.
- After the three minutes are up, flip the chicken breasts, using the tongs you used before to take them out of the bag and then proceed to set all the grill burners to a medium/low heat. For my grill, a medium/low heat is roughly 400-425 degrees. Once you have flipped the chicken and turned down the burners, set a timer for ten minutes.
- After ten minutes have passed, flip the chicken again and set another timer for ten minutes.
- Finally, after the next ten minutes have passed, use a meat thermometer to see if the chicken is done. If the thermometer reads 165 degrees then your chicken is done so pull it off and serve. If the chicken is still raw and less than 165 degrees, let it cook for another two minutes per side and then check it again with the meat thermometer.
- Serve the chicken as the main dish with sides of your choice and enjoy!

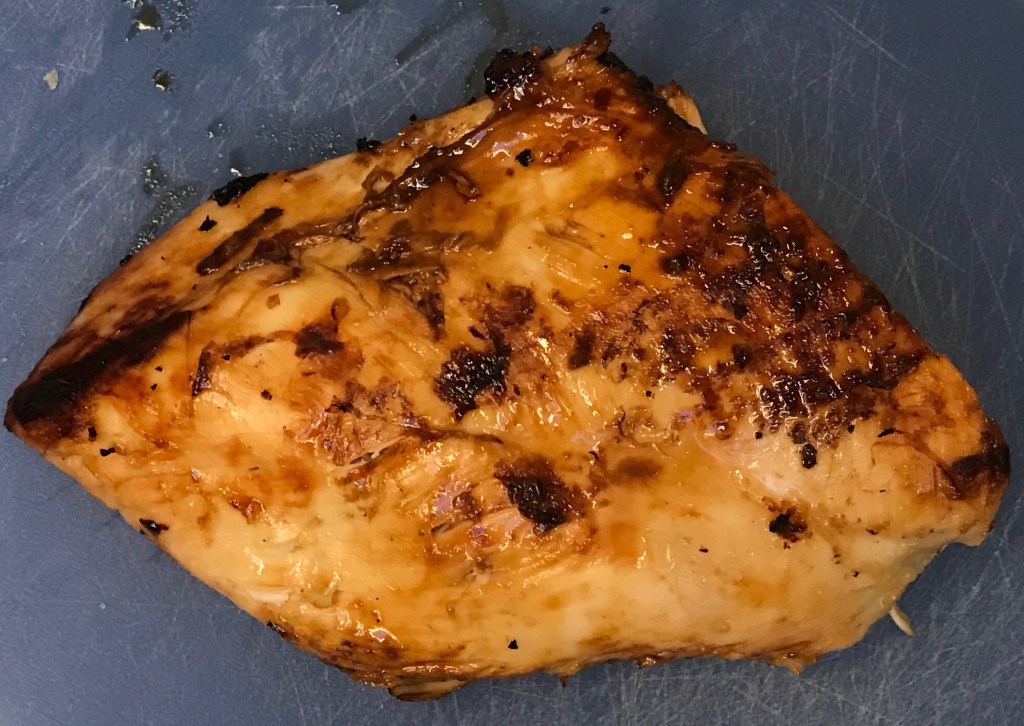
The thing I love about this chicken is that it is super easy to make and is also really juicy and flavorful. A lot of times when I cook chicken at home, it lacks flavor. But, in using the Italian dressing and allowing it to essentially bake on the grill, the chicken has a ton of flavor and is very juicy. I highly recommend making this chicken dish if you are tired of dry, boring chicken and want something that is quick and easy to make.

Dish Two: Marinated Flank Steak
I made this dish for my Dad’s birthday last week and it was amazing and one of the best pieces of meat I have ever cooked in my life. For this dish, I marinated the flank steak for twenty four hours to let it soak in the flavors and then put it on the grill for four minutes per side. Here are the ingredients I used and the steps I cooked to cook this delicious flank steak.
Marinade recipe courtesy of: https://heygrillhey.com/grilled-flank-steak-marinade/
Ingredients:
- 1-2 pound flank steak— You can use more or less meat depending on how many people you are serving
- 1 gallon size Ziploc bag
- 1/2 cup olive oil
- 1 1/2 teaspoons of both salt and pepper—- I didn’t measure this exactly, I just cracked some pepper into the bag and also put some pinches of salt in
- 1/4 cup brown sugar
- 2 tablespoons Worcestershire sauce
- 5 cloves minced garlic
- a handful of crushed red pepper flakes
- 3 sprigs of fresh rosemary pulled off the stem
Directions:
- Combine all of the marinade ingredients into the Ziploc bag, seal the bag tightly and shake to combine. I shook the bag over my sink to protect from any possible spills.
- Once the marinade has been made and combined, add the flank steak to the bag. Proceed to take out any air in the bag and seal it tightly. After the bag has been sealed, move the marinade around a bit so that it is covering the whole piece of meat. Stick the bag with the meat and marinade in it into the fridge for a minimum of two hours. I stuck my piece of meat into the marinade for twenty four hours which I highly recommend doing as it allows for the meat to really get the flavor from the marinade.
- After the meat has been marinated for your desired period of time, heat up your grill to its highest heat.
- Once the grill is hot, take the flank steak out of the bag with the marinade using tongs and stick it onto the grill. Close the grill and set a timer for four minutes. Discard the bag with the marinade in the trash.
- After four minutes are up, open the grill and flip the meat. Once the meat has been flipped, close the grill and set another timer for four minutes.
- After another four minutes are up, check for the doneness of the meat using a meat thermometer. If it is done to your liking (medium rare for me which is roughly 135 degrees) then pull it off the grill and let it rest for ten minutes. If it is not quite done yet, then cook it for another one minute per side. For this most recent flank steak, I cooked it for four minutes per side and it turned out a beautiful medium rare in the middle.
- After the meat has been resting for ten minutes, cut it against the grain using a knife and serve with sides of your choice. Enjoy!

I really enjoyed making this dish and was actually quite shocked with how much flavor the meat had at the end. I have made flank steak in the past but have never done a twenty four hour marinade like this before. Now, after making this meat using a twenty four hour marinade, I will most likely never go back to not using a marinade. The marinade added so much flavor to the meat and the meat itself was very juicy and cooked to perfection. I really recommend making this dish if you want a nice steak with a ton of flavor.
Dish Three: Memphis Dry Rubbed Ribs
This dish was another one of my favorite meats that I cooked on the grill this past week. This dish combines a Memphis style dry spice rub with a sweet pineapple glaze to make for some amazing ribs. Here are the ingredients I used and the steps I took to make these delicious ribs.
Recipe Courtesy of: American Lifestyle Magazine Issue #102
Ingredients:
For The Spice Rub:
- 2 tablespoons paprika
- 1 1/2 tablespoons brown sugar
- 1 tablespoon salt— I didn’t really measure this, I just did a rough estimate
- 1 teaspoon allspice
- 1 teaspoon cayenne pepper
- 2 teaspoons seasoned salt
- 2 teaspoons pepper— I didn’t really measure this either, just roughly estimated 2 teaspoons
- 1 teaspoon garlic powder
- 2 teaspoons onion powder
- 1/2 teaspoon cumin
For The Rest Of The Dish:
- 3 tablespoons apple cider vinegar
- 1 1/2 cup pineapple juice
- 4 pounds baby back ribs
Directions:
- turn on your grill and preheat it to 300 degrees Fahrenheit. 300 degrees is basically the lowest heat that your grill can be on.
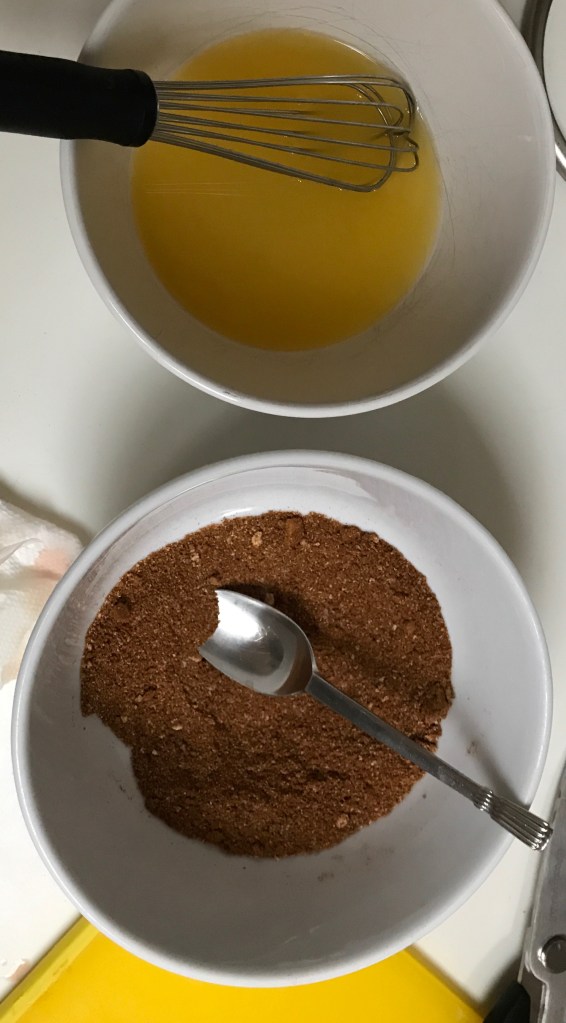
- While the grill is heating, combine all of the spices for the spice rub into a small bowl and stir to combine.
- Once you have made the spice rub, it is now time to make the pineapple glaze. Take out a small bowl and add the apple cider vinegar as well as the pineapple juice. Stir to combine and set aside.
- After the glaze and dry rub have been made, take out the rack of ribs and place them onto a plate or another surface that is big enough to hold them. Proceed to put the rub on both sides of the ribs really trying to pat it in to make sure that it sticks. For this step, I used all the rub and really got my meat seasoned nicely.

5. After the meat has been seasoned and the grill is hot, add the ribs with the meatier side down to the grill and set a timer for twenty minutes. Close the grill.
6. After twenty minutes have passed, bring out the glaze you made and a brush to your grilling area. Once the glaze is by your grill, open up the grill and glaze both sides of the ribs with the glaze using the brush. After this is done, put the ribs back onto the grill with the meatier side down again and set another timer for twenty minutes.

7. After the second twenty minutes is up, repeat step 6 again. After glazing the ribs again, preheat the oven to 325 degrees and line a baking sheet with tinfoil.
8. Finally, after the third twenty minutes is up or it has been an hour, glaze the ribs again on both sides and then take them off of the grill. Put the ribs onto the baking sheet with tinfoil and then proceed to pour the remaining glaze over the top. After the ribs have been put on the baking sheet and the glaze has been poured over the top, stick them into the preheated oven and let them cook for twenty minutes.
9.After twenty minutes are up, pull the ribs out of the oven and let them rest for ten minutes. Once ten minutes are up, cut the ribs and serve with sides of your choice.
The ribs were one of the hardest dishes that I made on the grill over these past couple weeks but were not insanely complex that I would not cook them again. I really enjoyed the spice rub as well as the glaze on these ribs and thought that they added a nice flavor to the ribs. When we made these ribs, they were a bit too salty and not sweet enough so the recipe I wrote above is modified a bit to make them sweeter and less salty. All and all, these ribs were very fun to make and the only hard part was the timing. I really recommend making these ribs if you get the chance as they are a perfect reminder that it is summer!
My Last Thoughts:
These past couple of weeks, I have really enjoyed grilling and making a variety of different meat related dishes. The past couple of summers, I had not grilled much so it has been great to get off to a fast start with my grilling this summer. The three dishes that I shared with you today are all very simple and mostly require ingredients that you already have on hand at home. If you have a grill and are looking for something to cook, I highly recommend one of the dishes that I talked about above as all of them are packed with flavor and ready to roll. Thank you so much for reading this blog post and I hope that grilling is in your future!
