Hello! Today I am going to be talking about my trip to Zion National Park. This National Park is by far one of the best places I have visited in my life; the hikes and scenery were incredible. Throughout this post, I will share details about how we filled our week long trip to Zion, where we stayed and how we avoided the summer crowds!
Overall Tips For A Successful Trip:
- book early and be early: reservations/permits fill up months in advance for summer dates and if you want to avoid the crowds, you need to do permit hikes. Also, lodging gets full a few months in advance as well. You can most likely get a hotel room in Springdale last minute but it is better not to take that risk. Furthermore, the earlier you book the more likely you are to get your first choice place. We booked our lodging in January for a July trip. Finally, arrive at the park early each day to avoid crowds on hiking trails and the heat! We took the earliest shuttle (six AM) out to the canyon from the visitors shuttle each day we needed to to avoid crowds.
- Drink lots of water and wear breathable, lightweight clothing: It is hot and humid during the summer at Zion and dehydration sneaks up on you. The park rangers as well as the hotel staff told us to drink at least a gallon a day! That is more than most people think to drink. Also, be sure to eat throughout the day.
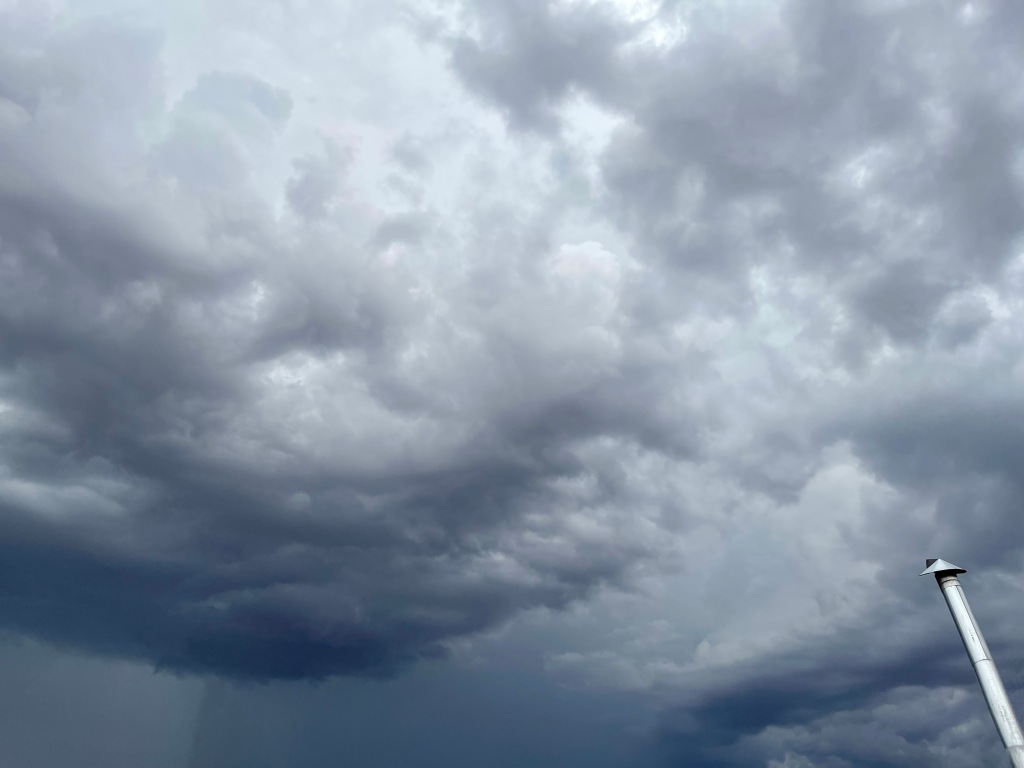
- Be ok with weather changing your plans: When we were picking up our hiking permits the day before our hikes from the visitor center, the rangers almost did not let us go out due to possible flash flooding. Summer is the rainy season in Springdale which can cause flash floods in the Zion canyons. These floods are super dangerous and cause deaths each year. My recommendation is that if the risk of flash floods is serious do not go out into the canyons; it is definitely not worth it.
Now I will get into the hikes we did each day and what I thought about them.
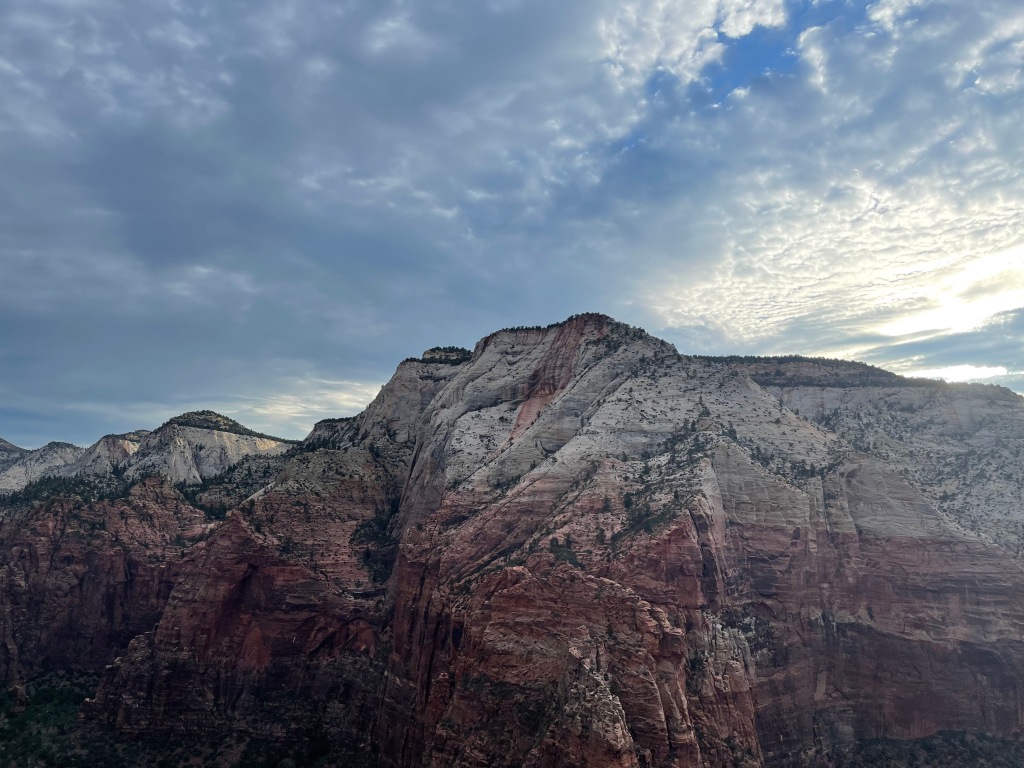
Hike 1: Angels Landing
This is by far the most popular hike in Zion National Park and it was unfortunately not permitted when we were there. We took the first shuttle out from the Zion visitors center at 6:00 am, which is the best way to do this hike. When we arrived at the visitor center around 5:30 am, it was super easy to find parking and then we were able to line up for the shuttle to get into the park. The shuttle is the only way to get into the park and on to the trails. The visitors center lot starts getting full around 7:30 AM and by then the trails are packed. So go early!
Once we arrived onto the trail after about a fifteen minute bus ride, we immediately began hiking. The first part of Angels landing is paved and is on a rocky incline with switchbacks. You go up for about thirty minutes, beautiful views all around you, before you hit the base of Angels Landing. After arriving at the base, it is time for you to make a decision. You can either stay there and look at the view of the peak and down below which is stunning. Or you can continue hiking up to the Angels Landing peak which involves a pretty sketchy traverse up the side of a rock as well as using a metal chain to hold you up on one side. There are also some parts that are one way only traffic. We made it up to the top no problem, as everybody was going up at the time we were, and had an amazing time enjoying the views. But on our way down we were slowed down significantly by people trying to get up. This is yet another reason to be early as the more crowded the peak gets the more dangerous it is.
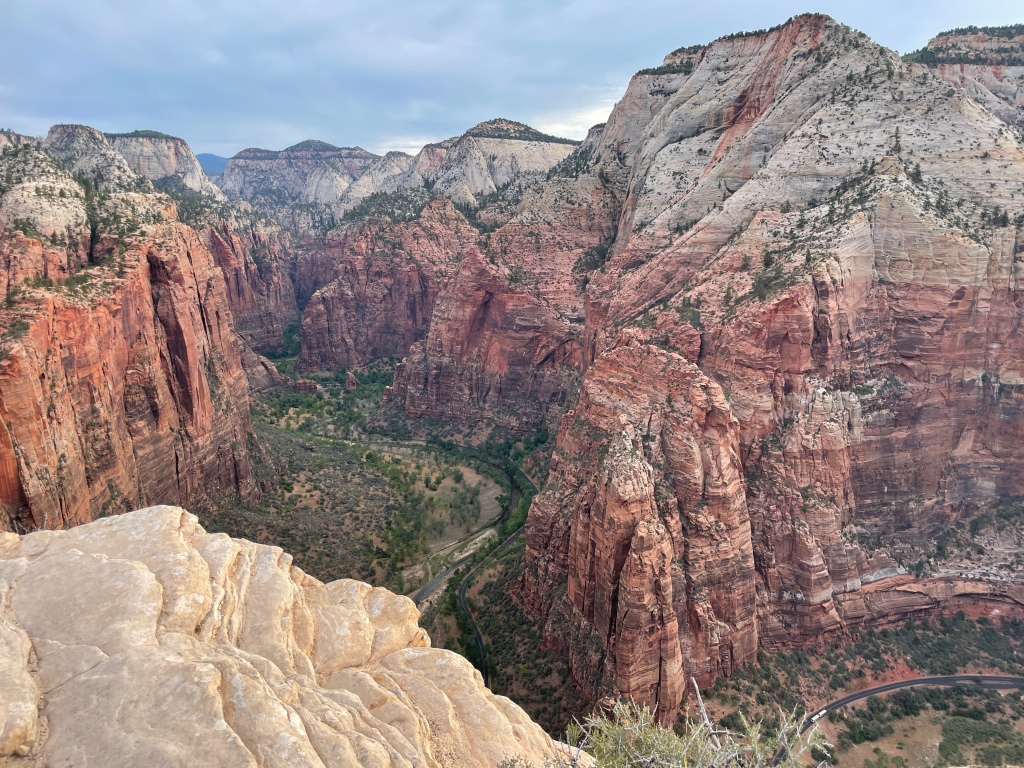
Overall Angels Landing is an amazing hike. From the peak you get amazing views of the Zion Canyon and are super high up. The one drawback is that it is the most popular hike at Zion so it gets really crowded fast which makes it scary too. This was our only non permit hike and it was a fun one.
After going up to the top, instead of going down we connected to the bottom of the Upper Rim Trail and made it a 10 mile hike. This is completely optional but we are pretty serious hikers and felt incomplete after just Angels Landing. We made it to West Rim Spring (after a lot of up and down) in the heat of the day which was quite a challenge but for sure a great reward. By the time we were finished it was 1:00 pm and time to get lunch.

Update: As of April 2022, Angels Landing now requires a permit to hike it. Permits are open now for the advanced lottery and other months will open soon too. This is a good move as it will allow the park to control crowds and prevent crowdedness at the top that plagued Angels Landing. It just means that you have to plan ahead!
Hike 2: The Narrows Top Down
Warning: This hike is not suitable for everyone and you need to be in really good shape. You also need to plan well in advance to complete it.
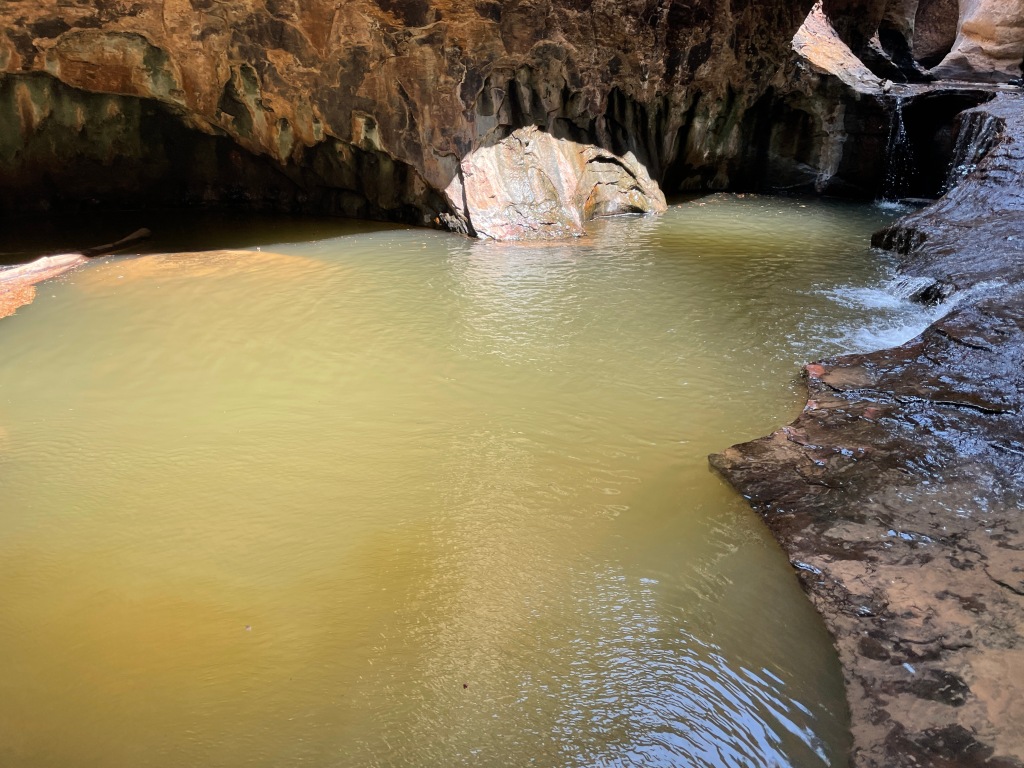
Another Warning: Zion currently has a toxic cyanobacteria bloom meaning that it is too dangerous to stick your head in the water. So when you are hiking/swimming be sure to keep your head out of the water!
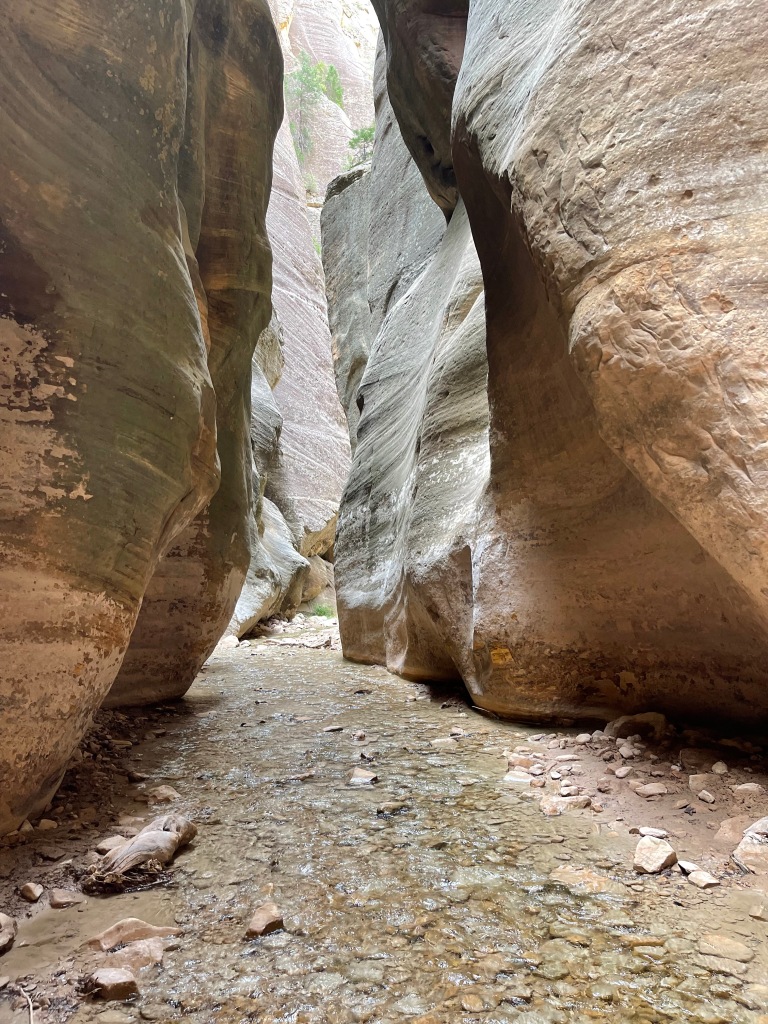
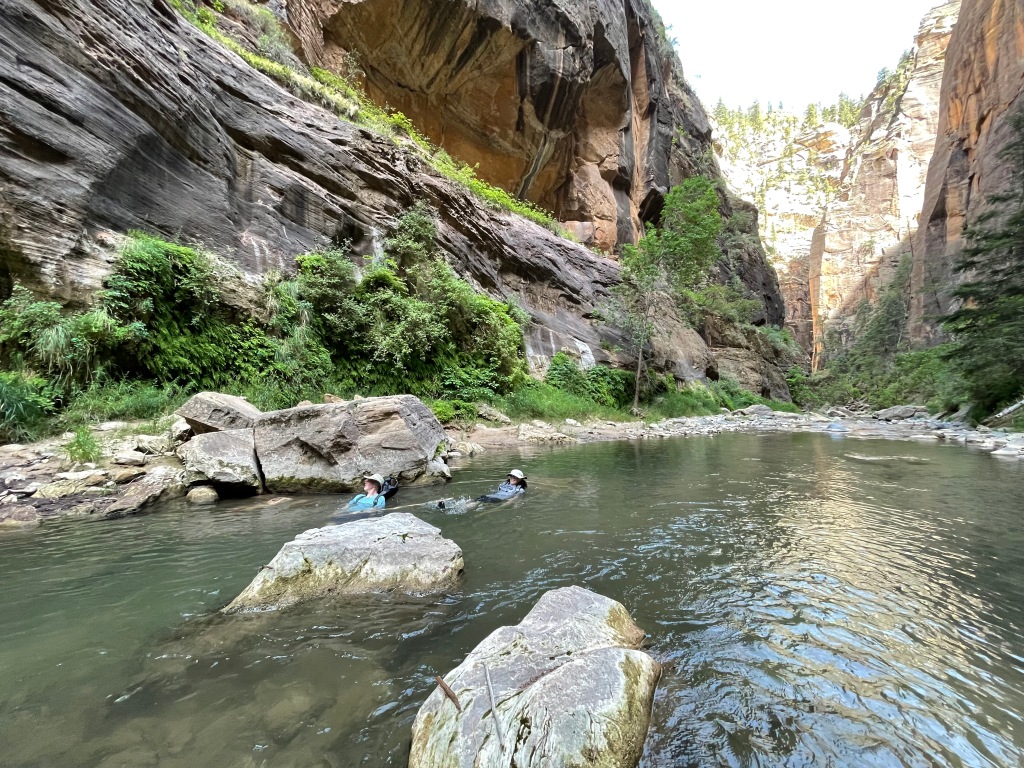
The Narrows is Zion’s signature hike and one of the main reasons we wanted to visit. We booked this hike a whole month and a half in advance with their online permit system and boy was it worth it. The Narrows is a slot canyon hike that you can hike in Zion National Park. If you do not get a permit, you can take the shuttle all the way down to the temple of Sinwava stop and hike the Narrows (bottom-up) that way up to the point that it says permit only. This is an out and back hike that is pretty much all in a river with the canyon walls beside you. In order to do this hike, you need special shoes, socks and sticks that you can rent in town. Unfortunately, most of the people we saw at the bottom did not look well prepared as they did not have water and were hiking in jeans; do not do that.
If you are able to get a permit, you can hike The Narrows from the top down which is what we did. It is an 18 mile water hike that starts at Chamberlains Ranch, about an hour shuttle ride from Zion, and then goes all the way down to the start of the Virgin Narrows where you can take a shuttle back to the visitors center. In total this hike takes 10-13 hours. You can get two different permits: a camping permit which allows you to spend the night about halfway down or a one day permit which means you have to hike it all in one day.
We took the one day route as we had already booked lodging for the whole week and did not want to carry gear to camp. This was for sure the more agressive way to do it and you have to hike really fast in order to make it down for the last shuttle of the night. Once we secured our permit, we booked a shuttle (which you have to do) through a company in Springdale called Zion Guru. This shuttle picked us up at 6:00 am from the Zion Visitors center and got us to the trailhead at 7:00. We also rented dry backpacks, Neoprene socks, water shoes and wooden sticks to use from Zion Guru. Originally, we did not want to do this as we thought we could just use regular water shoes and socks. However, after seeing people hike and hearing stories, we realized that the majority of the hike was in water and we wanted our feet and gear to be protected. On the day of the hike, we packed up our dry bags with a gallon of water each, gatorade, lunch, a sweatshirt, water purifying tablets and a flashlight. The last three things were not required for the day but the ranger as well as people who have hiked it before told us that if a freak storm comes in, it is dangerous to finish the hike and you could die do to a flash flood. It is dangerous because the canyon near the end has no high ground. If there was a storm, you would have to spend the night in the canyon. Thus, this is what the extra gear is for.
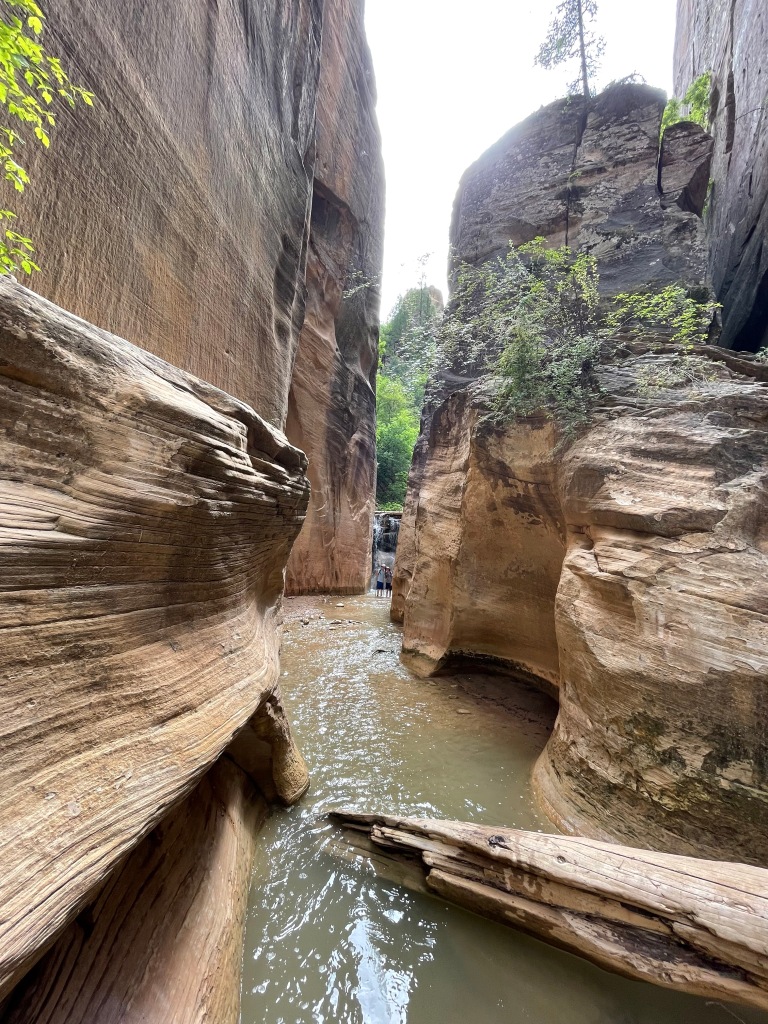
Although this sounds like a lot to have to do, it is 100000% worth it for the once in a lifetime scenery. The hike is unlike anything I have ever experienced and pictures nowhere near tell how fun it was. The day was a blast and the company I was in even better. If you are an experienced hiker I recommend this as long as you go fast enough to make it down. Otherwise, stick to the non-permitted hike where you can turn around whenever you want and still enjoy the beatiful scenery of the slot canyon.
We started the hike at 7:00 am and finished in time to get on the 6:45 PM shuttle back to the visitors center. This was with very few stops for lunch, snacks/drinks and swimming around. We kept a really quick pace which really shows that this hike is intense. Afterwards we were wiped out and needed a huge meal and some rest! But this hike was something that I will never forget and a once in a lifetime experience.
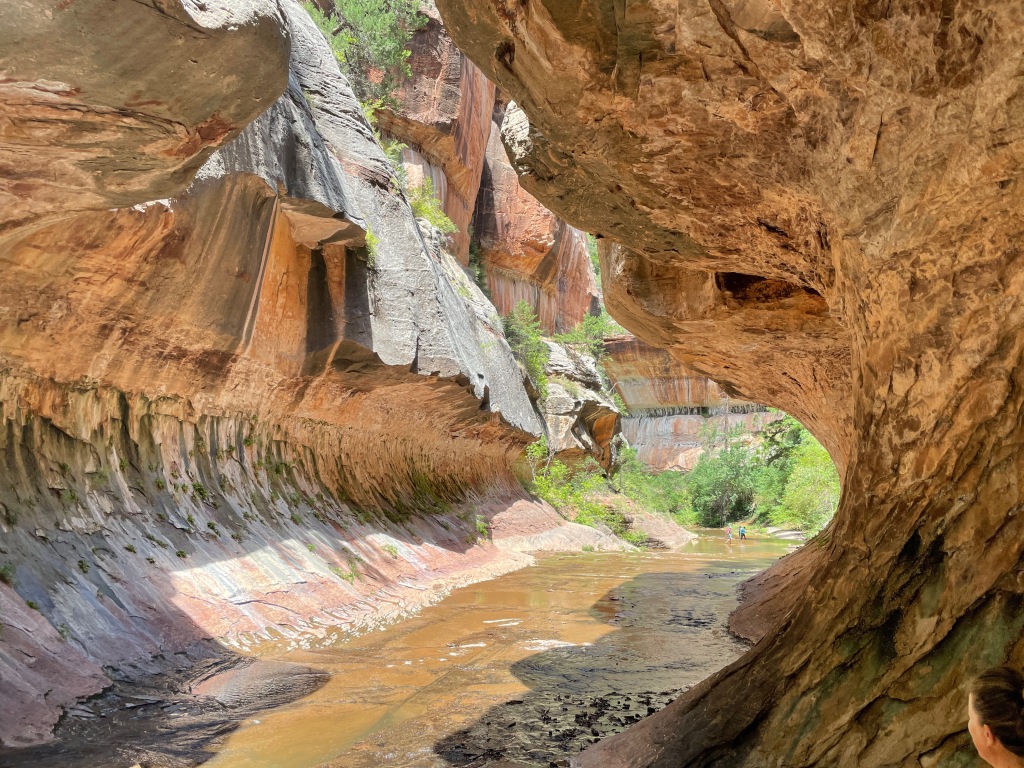
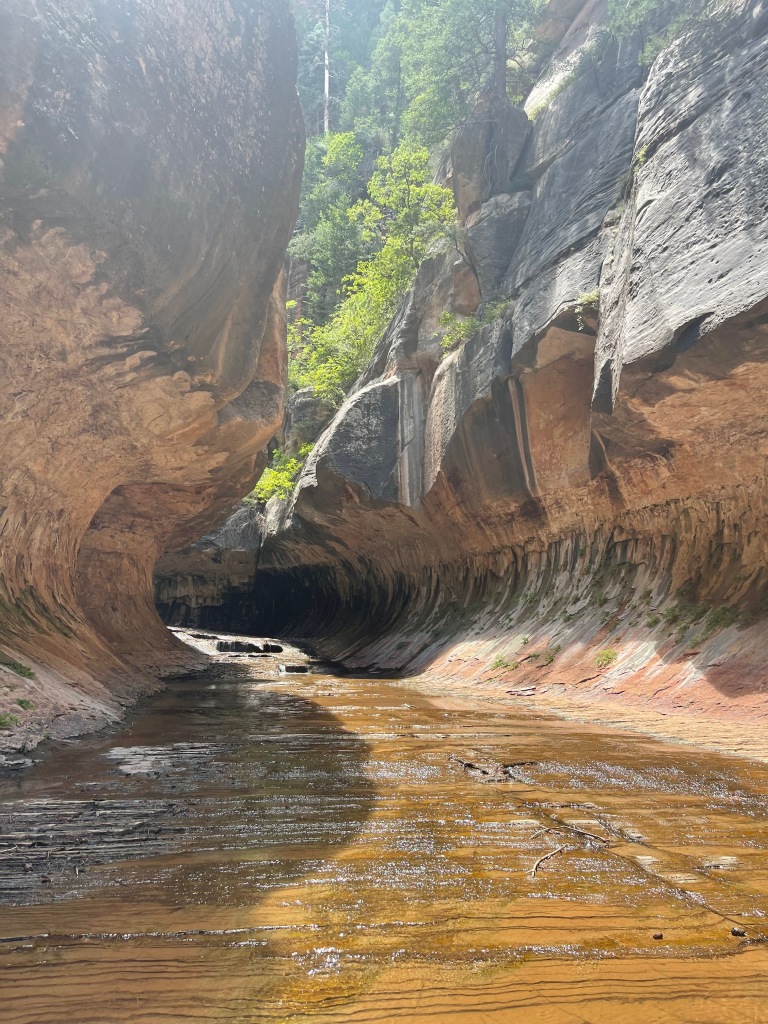
Hike 3: The Subway
We did this hike on our third and final full day and it is another Zion Treasure that is not packed due to it being permitted. We missed out on the advanced lottery permit for this which opened two months before our trip. Luckily, they have a last minute lottery that opens a week before your desired day. As a result, I went onto the site on a limb and saw that they had 3 spaces available for the day we had free so I booked it! The Subway is another glorious canyon that looks exactly like a subway tunnel at the end. In order to see The Subway, you have to hike up the side of a river for a while.
The Subway trailhead is on Kolob Terrace Road, about 30 minutes outside of the park. You do not enter in the main entrance of the park for this hike. It happen to be the same road our lodging, Zion Under Canvas, was on. This meant that this hike was closer than the main entrance to the park for us which was really convenient.
Once you park in the lot and display your permit on your car, you begin your hike. There are two ways to do this: top down which requires repelling and two cars (or a ride or up and back). We did the up and back as it was easier logistically. In total, it was a 9.5 mile hike that took us about five hours. The first part involves hiking down a mountain to the river through a fairly well marked trail. Once you get down to the river you are pretty much on your own with no trail. I highly highly recommend taking a picture of where you enter the river, the hillside, and the sign as otherwise you will not find it on the way back. After that, you hike along and across the river, scrambling across rocks and under branches until you reach the subway. The subway itself is very slippery so take caution when walking in it. The hike was pretty difficult and there was not too much amazing scenery but the subway itself was well worth it. It is another once in a lifetime canyon you have to see to believe.
I recommend this hike if you are good with directions and able to move around really well. When we got our permit the Ranger at Zion told us to make sure to check for weather as it is hard to get out if it is raining a lot. Also he said you should not go out if you are unsure or not good with directions as it is easy to get lost. But if you can avoid all this it is a basically empty hike with incredible scenery.
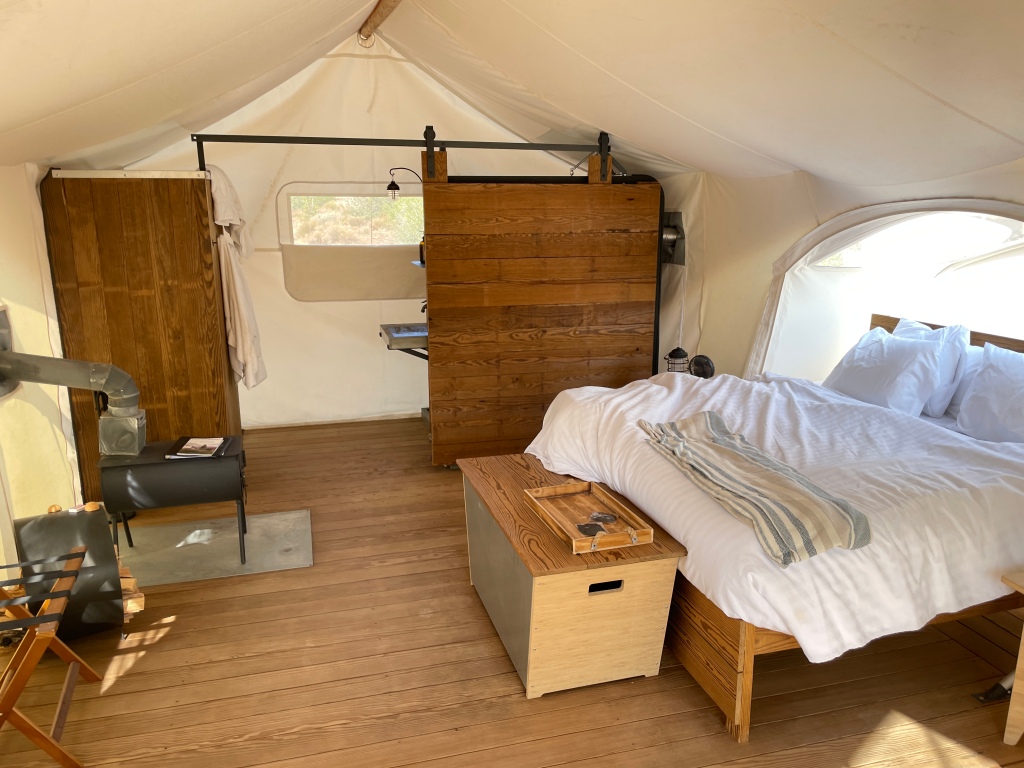
Our Lodging Zion Under Canvas:
We stayed at Zion Under Canvas on Kolob Terrace Rd. It was about a 25 minute trip from the main Zion entrance and Springdale. It was amongst the canyons and plains which was beautiful. What I liked about it was that it was quiet and separated from the main summer crowds in town. Under Canvas prides itself on allowing you to unwind and be off the grid. They have a main canvas tent with a restaurant, check in desk and supplies you need. Aside from that, they have individual canvas tents for people to stay in. The individual tents range from suites to singles and some have bathrooms while others rely on the communal bathrooms. Our tent had a queen bed, a bathroom and a cold water only shower. It also had a kids tent with two twin beds. Zion Under Canvas is essentially glamping: Real beds and toilets but no power outlets or WIFI (only power bricks). They also do not have AC, they only have power brick powered fans. Another cool feature was that they had live music, yoga and other events throughout the week which allowed us to relax. The music was especially peaceful at night when we were laying in our tent. I really enjoyed my stay aside from the no AC as summer in Utah is really hot! Under Canvas exists at other national parks too and you can look it up to see other locations.

Conclusion:
Wow. Zion National Park was even more beautiful than I expected. The park was out of this world and almost like a movie. I hope I have shared some good tips and tricks for you in this post. All I can say is this: book early, drink water and have a good time! If you do permit hikes, you will avoid crowds and have an amazing time. I cannot recommend this national park enough as the hikes are stunning. In total we hiked thirty five miles in three days and were absolutely exhausted from waking up early and the seven to ten hour days. But it was the best kind of exhaustion. Thank you for reading this blog post and I hope you can visit Zion soon!
Go 49ers!
— ChefWalker out ✌🏻🤩
